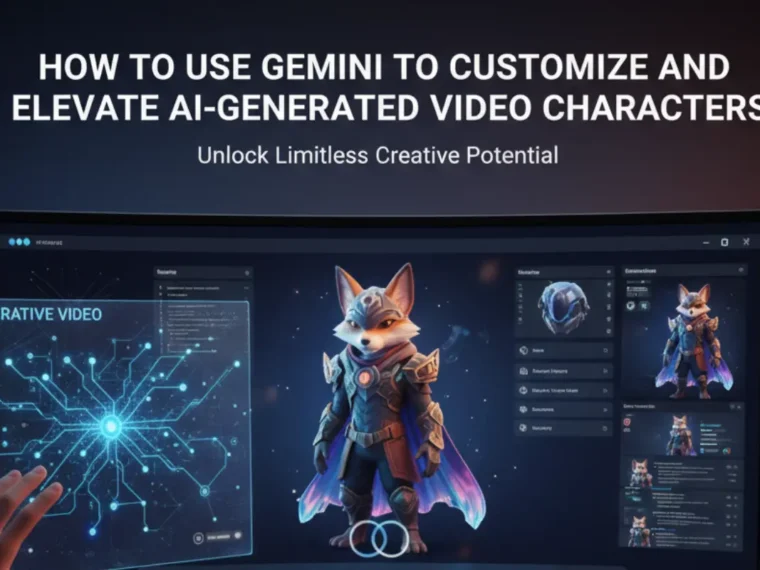
If you’ve spent any time playing with text-to-video AI tools over the past year, you’ve probably run into the same wall every other creator has: your characters look fine, but they also look… generic. A little too smooth, a little too familiar, like you’ve seen that exact face in fifty other AI videos already. It’s not that the tools are bad — it’s that most people are using them the same basic way, one prompt in, one video out, hoping for the best.
Google’s Gemini is quietly changing that equation, and the tool doing most of the heavy lifting is a feature nicknamed “Nano Banana” — Gemini’s image generation and editing capability. Used the right way, it turns a forgettable AI character into something that actually feels designed, with a consistent look you can carry across an entire video series. Here’s a practical, step-by-step breakdown of how creators are using it.
Why This Actually Matters
The core problem with most AI video generation is that it treats every prompt as a fresh start. You describe a character once, get a clip, and if you want another scene with that same character, you’re basically rolling the dice again and hoping the AI remembers what “she” looked like the first time. Minor details drift. The jacket color shifts. The face changes just enough to be distracting.
Gemini’s advantage comes down to how it handles multiple types of input at once — text and images together. Instead of just interpreting a vague description like “a woman in a suit,” it can work from richly detailed prompts and, more importantly, from an actual reference image. That combination is what makes consistency possible in the first place. Nano Banana specifically lets you edit a still frame with pinpoint precision — swap a sweater color, adjust an expression, add an accessory — without touching anything else in the image. That edited frame then becomes the anchor for regenerating the video, so every scene stays visually locked to the same character.
In short: rather than regenerating a whole clip because a color looks off, you fix the one thing that’s wrong on a single frame, and let that corrected frame guide everything downstream.
A Six-Step Workflow Worth Stealing
1. Write a Prompt Like You’re Casting a Real Actor
Vague prompts get vague results. If you want a character who feels specific, your first prompt needs to do a lot of work. Go beyond “a woman walking through a city” and get into the details that actually build a personality: age, ethnicity, hairstyle, facial quirks, clothing down to the fabric and color, plus the mood and setting.
Something like: “An 8-second shot of Elara, a focused 40-year-old architect of South Asian descent, dark hair pulled into a tight bun, wearing a structured navy blazer over a white blouse, striding confidently into a sunlit glass office lobby, low camera angle.”
The more specific you are up front, the less correcting you’ll need to do later.
2. Freeze the Best Frame
Once your first video comes back, you’ll almost never love every second of it — but there’s usually one frame where the character looks right, or close to it. Grab a high-resolution screenshot of that exact frame. This becomes your working image, the base you’ll refine before sending anything back into video generation.
Working with a still image instead of a moving clip makes the next steps far easier to control. You’re no longer fighting motion blur or inconsistent framing — you’re just fixing a picture.
3. Fine-Tune the Character with Targeted Edits
This is where Nano Banana earns its reputation. Open Gemini’s image editing tools, upload your saved frame, and start giving it specific, narrow instructions rather than broad ones. The difference between a vague edit and a precise one is night and day:
- Expression — “Make her expression warmer, a slight smile instead of a neutral look.”
- Wardrobe — “Change the blazer from navy to deep emerald green, and give the fabric a subtle woven texture.”
- Accessories — “Add a thin silver necklace with a small pendant.”
- Lighting — “Shift the lighting to feel softer and more cinematic.”
Because the model treats your uploaded image as the fixed foundation, it applies these text-based tweaks while keeping everything else — the face, the pose, the composition — intact.
4. Test Different Settings Without Starting Over
Once the character itself looks right, you can experiment with where she’s placed. Ask Gemini to keep the character exactly as-is but drop her into a different backdrop: a European café, a busy street, a quiet office. You can also clean up a scene — removing a distracting object in the background, or softly blurring it so the character pops more.
This step is really about testing fit. A character might look great standing in a glass lobby but feel out of place somewhere else, and it’s far cheaper to test that on a still image than to regenerate a full video every time.
5. Lock In Your Final Reference Frame
Once every detail checks out — hair, clothing, expression, background — save that image. This becomes your master reference, the single source of truth for that character going forward. Some creators run one more sanity check here: feeding the original text prompt plus this final image back through a single-shot generation, just to confirm everything holds together before committing to a full video render.
6. Feed It Back Into Your Video Generator
Now comes the payoff. Head back to your video tool of choice — Veo is a common one — and run your original detailed prompt again, but this time attach your polished reference image alongside it. The video model uses that image as its visual guide, carrying over the corrected colors, the accessory you added, the expression you refined, across the entire generated clip.
The result is a character that actually looks consistent in motion, not just in a single static shot.
A Few Extra Tricks Worth Knowing
Beyond the core six steps, a couple of extra habits can save you time on longer projects:
Build a character sheet. Once you’ve got a final image you’re happy with, ask Gemini to describe it in exhaustive visual detail — every feature, every clothing detail, every distinguishing mark. Save that description as text. It becomes a reusable reference you can paste into future prompts to keep the character consistent across an entire series, without needing to re-upload the image every time.
Get specific with emotion. Subtle emotional shifts need equally subtle instructions. Something like “a flicker of apprehension in her eyes, but her mouth stays neutral and composed” gives the model far more to work with than just “make her look worried.”
Keep your visual style locked. If you’re producing a series, explicitly tell the model to match the look of earlier frames — “keep the same cinematic, hyper-detailed quality as the previous scene.” It’s a small instruction that prevents your visual style from drifting episode to episode.
Also read: Why Artificial Intelligence is Overhyped (And What It Actually Is)
The Bigger Picture
None of this is complicated, technically speaking — it’s really just a disciplined, iterative approach instead of a one-shot gamble. Prompt carefully, capture a frame, refine it in small deliberate steps, test the setting, lock it in, and then feed that polished image back into your video generator. Each step is simple on its own, but stacked together they solve the exact problem that makes so much AI video look interchangeable.
For creators building anything long-term — a recurring character, a branded mascot, a series with continuity — this workflow is the difference between content that looks stitched together from random generations and content that feels like it was actually designed. As AI video tools keep improving, the creators who treat character consistency as a real design process, rather than an afterthought, are going to be the ones whose content actually stands out in an increasingly crowded feed.
Google’s Gemini has a hidden trick called Nano Banana that lets you lock in a consistent character across every scene. Full breakdown read here.https://t.co/UWsjElX9WC
— cityviti (@cityviti1) August 18, 2026